...Gonna use oil based paint, because the wood is pine.
- The Simpsons, All Singing, All Dancing
The basics of Blender texture painting and Ucupaint.
So, one of the things we wanted to do in Q2 2025 was to learn Ucupaint, to see how it could augment/replace our 2D workflow for creating avatars.
And it was a lot easier to learn than we thought - so here's some notes. This is not a full tutorial, this is just to spark ideas and let you know what to search for if you do want to give it a go.
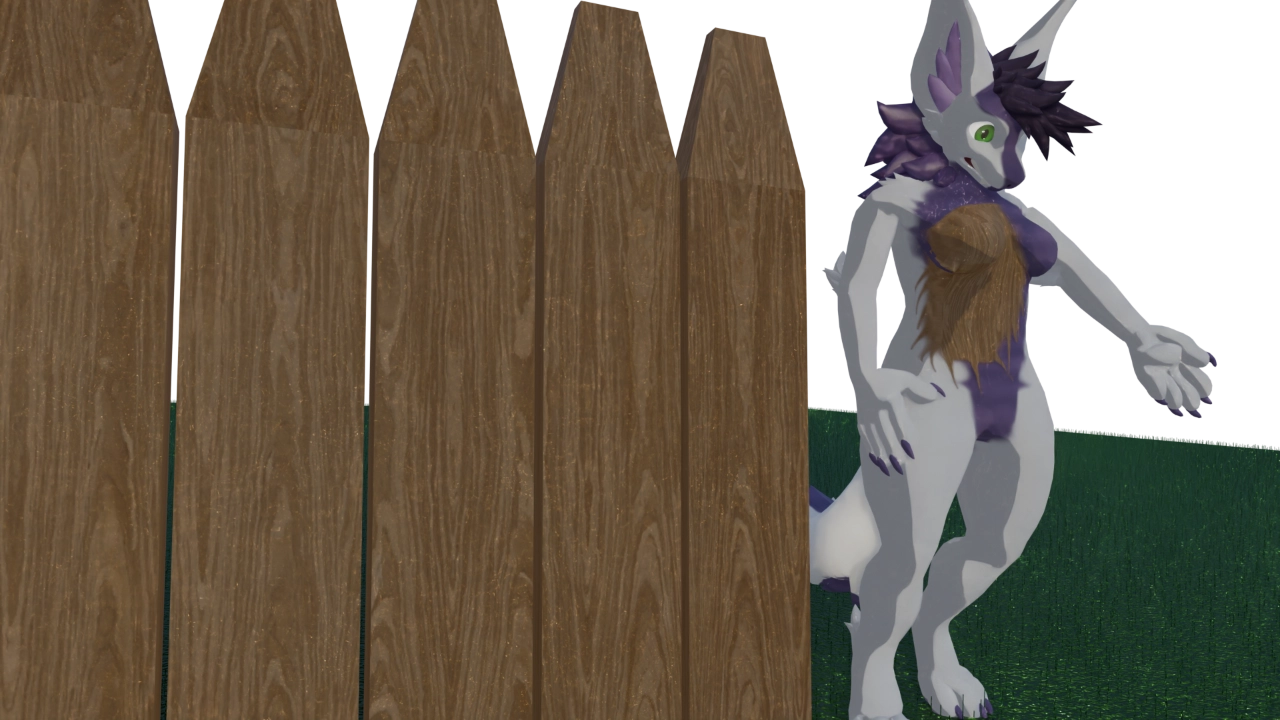
This article features the Vulper by Reval, as the avatar we were working on at the time.
EDITOR'S NOTE: This article was meant to be uploaded closer to October but we kind of stalled on it with everything going on.
...part of it may have being knowing what we wanted for the header image and not having the energy to make it.
the basics
Install Ucupaint by following their instructions depending on Blender version. For us, that was installing from Blender's extension store.
Blender is an editor dependent on switching modes - which can be done using the dropdown at the top left of the viewport.
For the purpose of this, we can ignore all of them except Object Mode (to select the mesh we want to work on), Edit Mode, and Texture Paint mode.
Let's start with Texture Paint.
texture paint mode
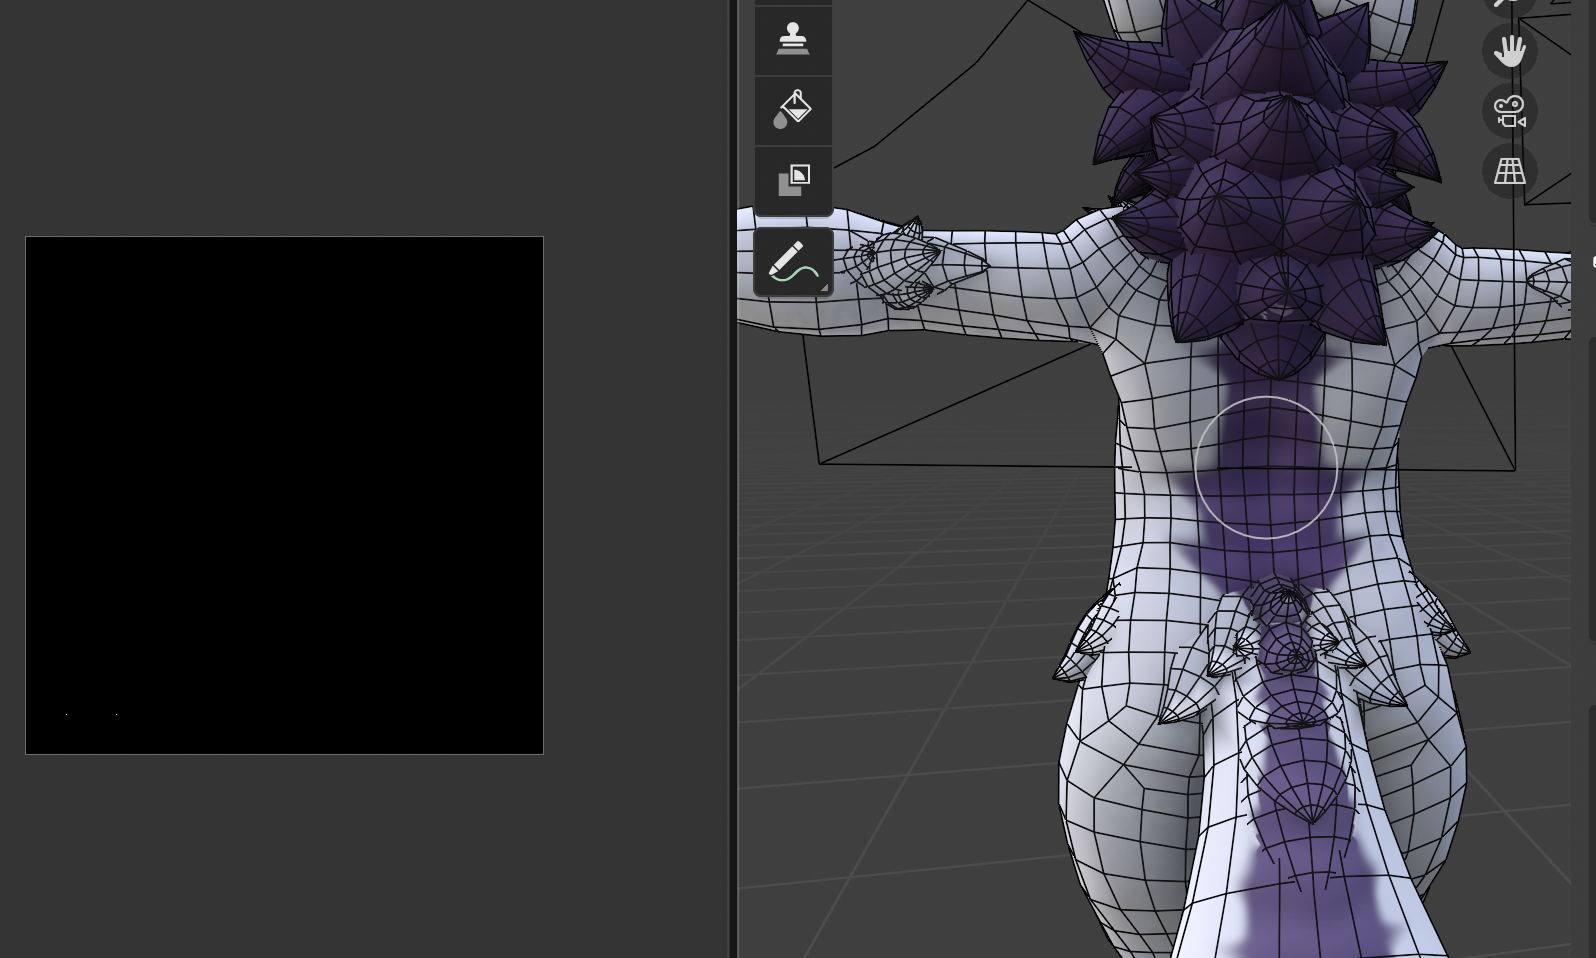
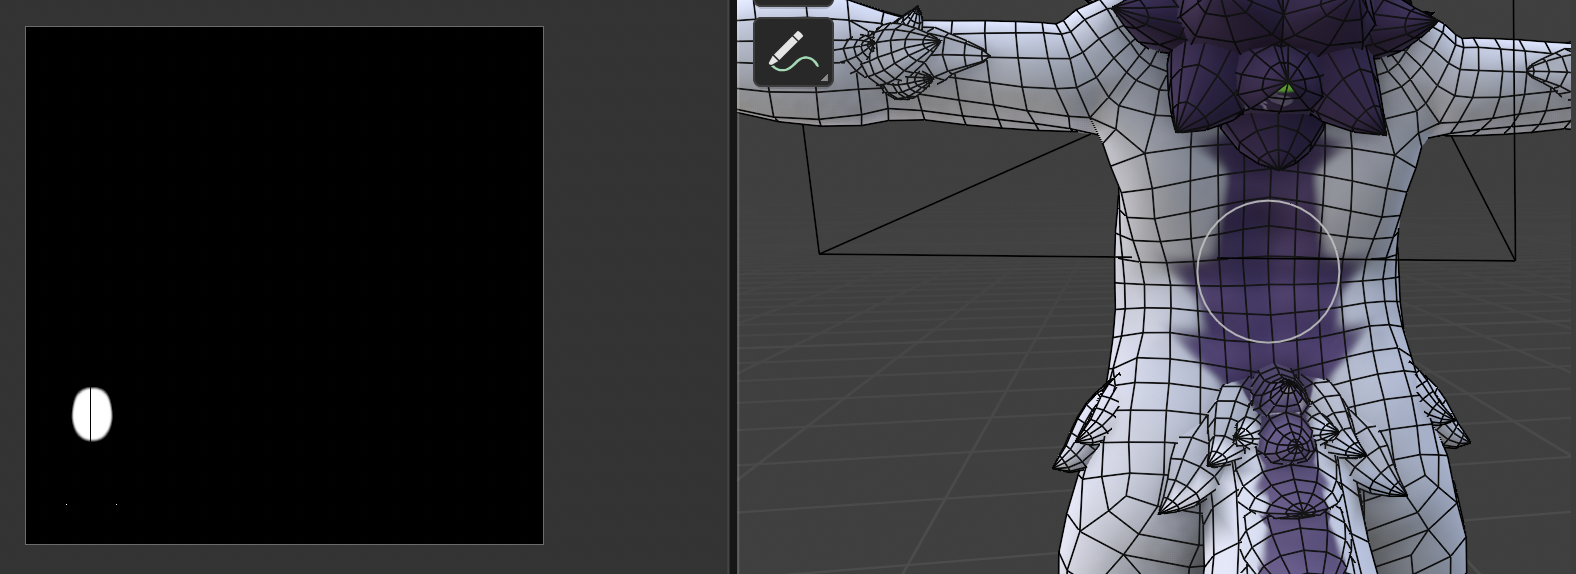
The easiest way to use Texture Paint mode can be accessed from the texture paint tab. By default on this tab, you'll get a view with a 2D representation (UV map) of the object on the left, and the 3D viewport on the right.
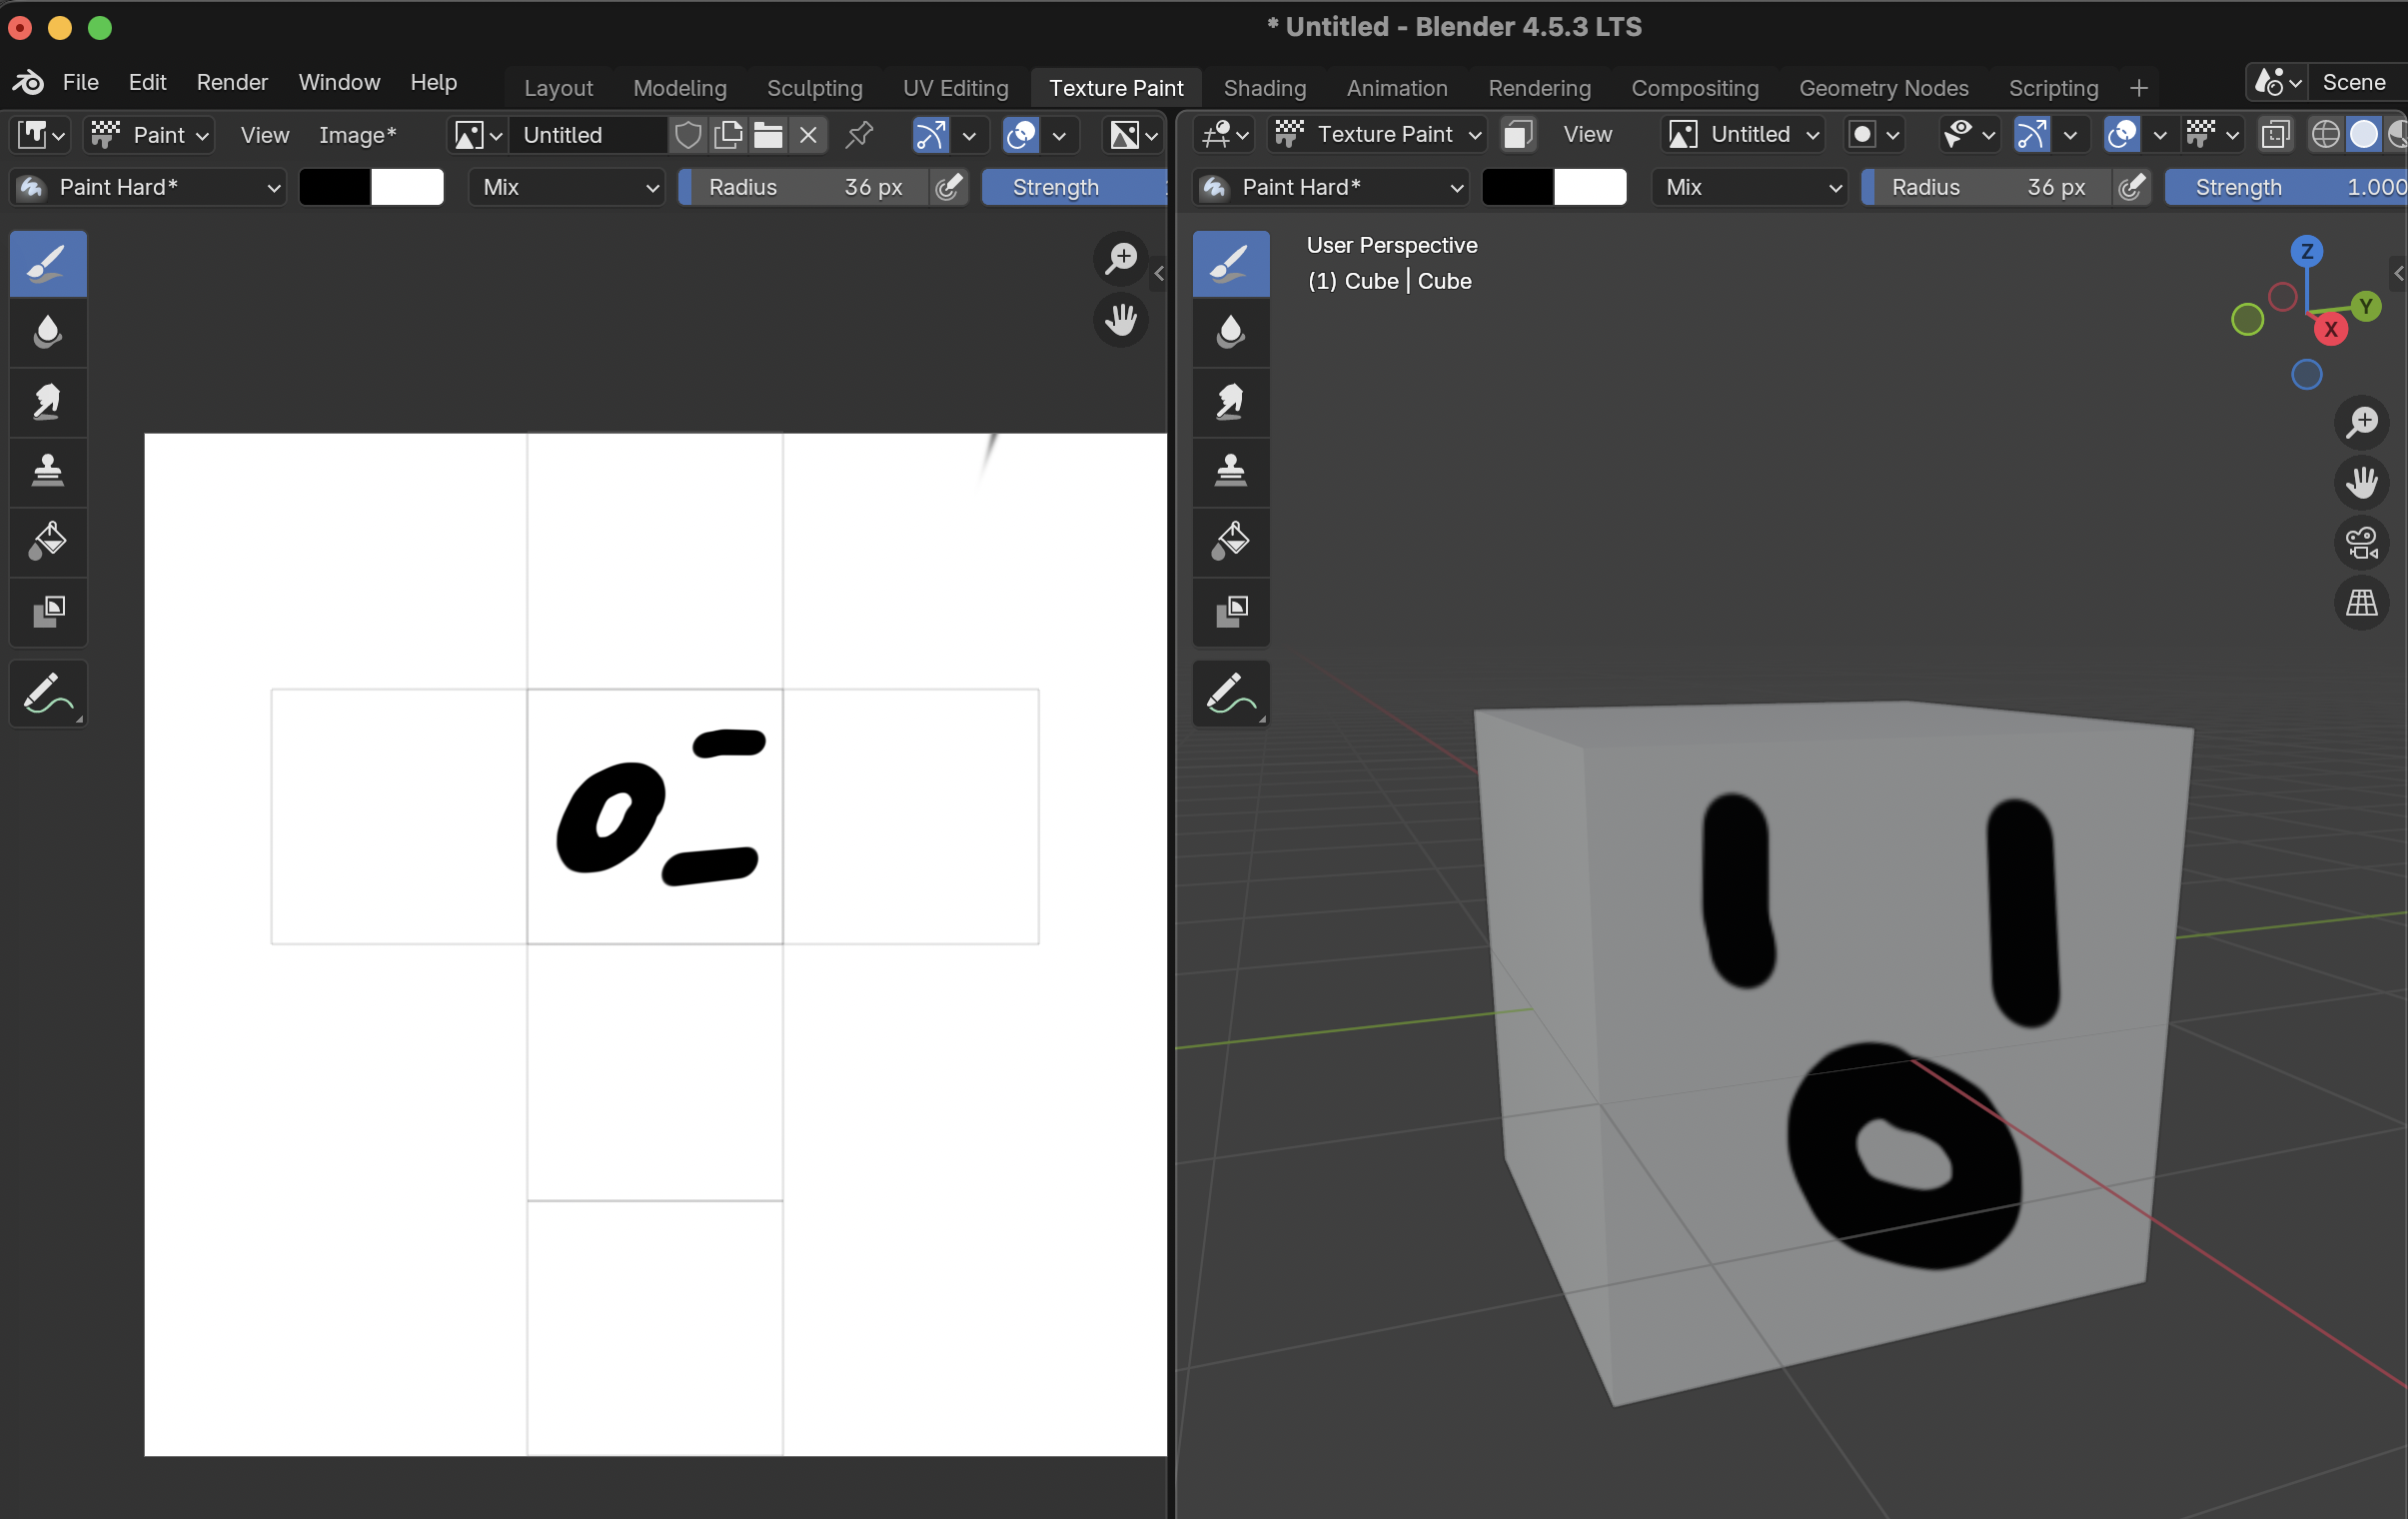
You can paint on either one by clicking and have the texture on the other side be reflected (as long as the correct one is selected on both sides - in the dropdown next to Untitled, in this case.
Like most art apps, [ and ] will change the cursor size. The menu with the colour selection can be scrolled - which is how you get to the 🦋 Symmetrize options. The cursor can have two colours - and you can either use X to swap them or Ctrl+Click to paint with the secondary.
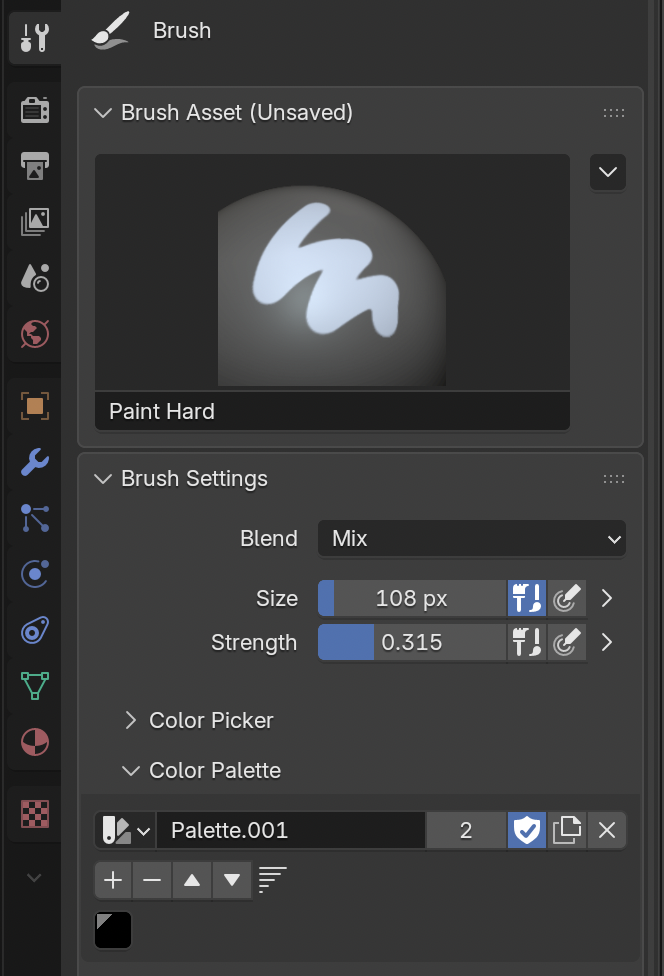
On the Draw tab on the right (the 🪛🔧 icon while in Texture Paint mode), can do things like setting up a colour palette, although I don't do this when working in Ucupaint.
edit mode
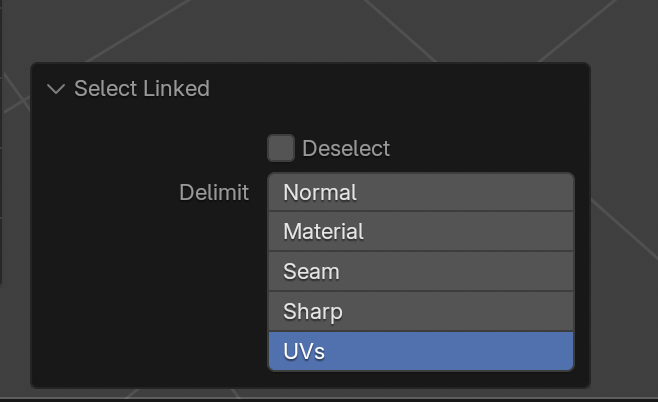
Edit Mode is for selecting the individual faces, edges and vertices that make up the mesh. The most useful selection tool for texture painting that we've found is to select Linked UVs - by pressing L when hovering over a part of the model in the viewport and selecting UVs in the viewport.
If done over the torso, for example, this selects just the torso. Using the Texture Mask button ( ) in Texture Paint mode, you can then restrict edits to just the selected area.
Texture Paint also can run into some problems with overlapping geometry - common in things like fur or hair - it might only let you paint on the top one. In edit mode, the overlapping layers can be hidden using the H key - allowing access to then paint underneath in Texture Paint - before swapping back to Edit, and using Option+H/Alt+H to unhide everything when done.
Additional care needs to be taken when working with models with multiple sub-meshes. Painting on the wrong mesh will make seemingly random marks on the current one - because the paint will be based on the wrong UV map.
You can set up custom brushes, which might be useful for creating custom decals or repeated patterns.
Ucupaint
Ucupaint takes Blender's Texture Paint mode, and adds the kind of layering you'd see in most art applications. It lives in the toolbar accessible on the side or with the N key.
For VRChat use, I like to use the option to create Solid Colour layers with an image mask, and build up layers that way. When they're done, I can export the layers and combine them in different ways.
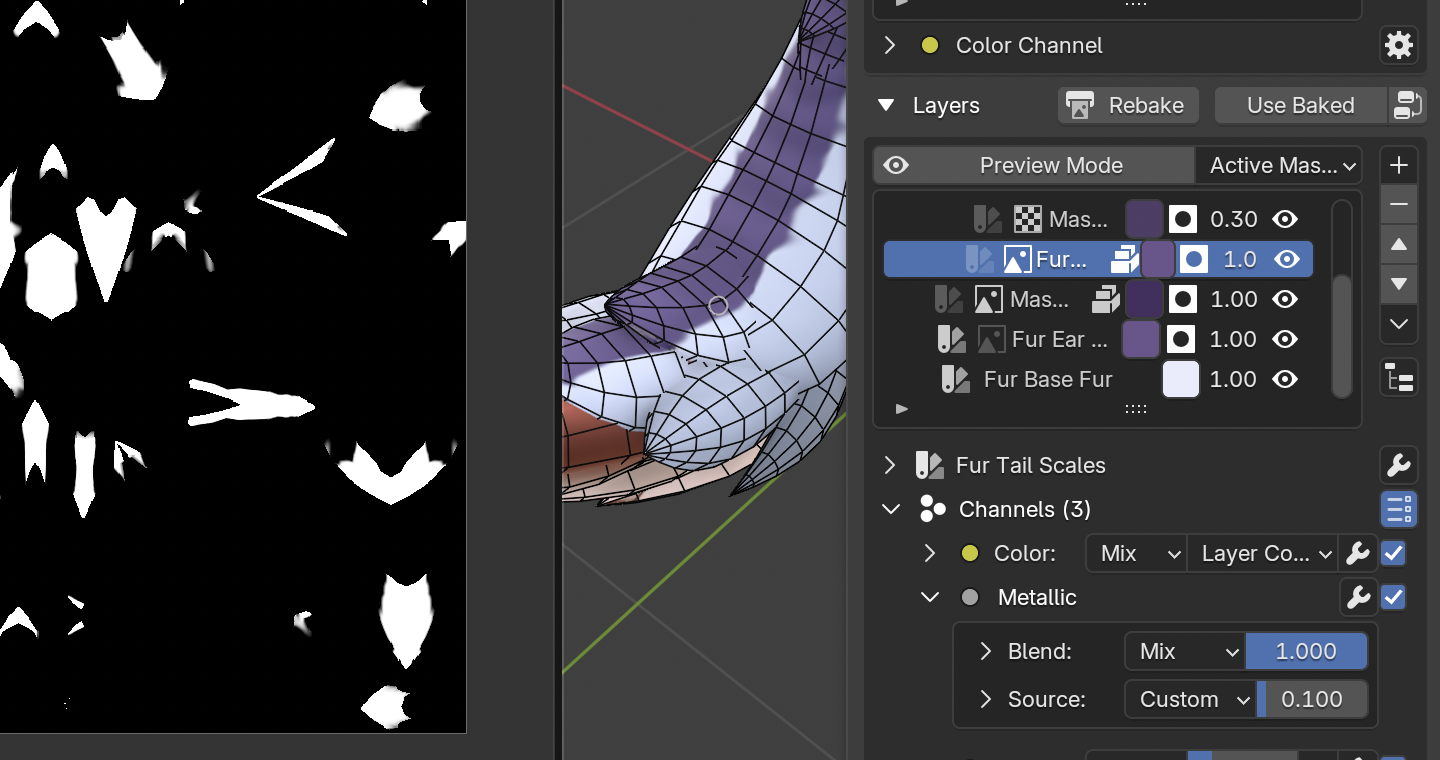
Ucupaint can handle colour/diffuse, alpha, metallic, smoothness/roughness, and normal maps - all from the same mask. The strength of each type of map can be set independently.
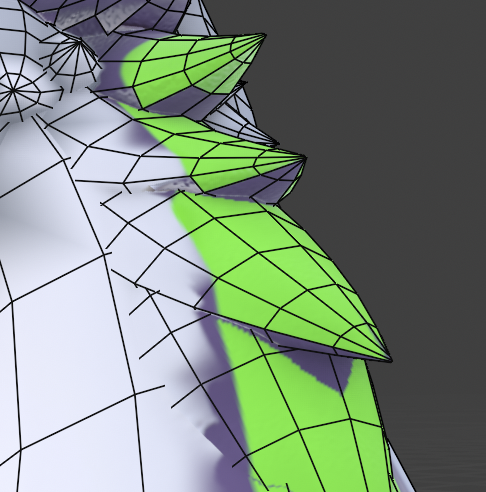
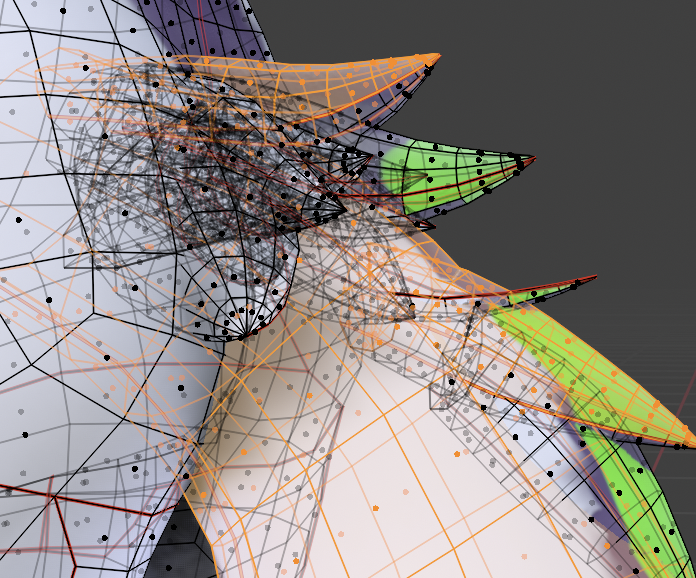
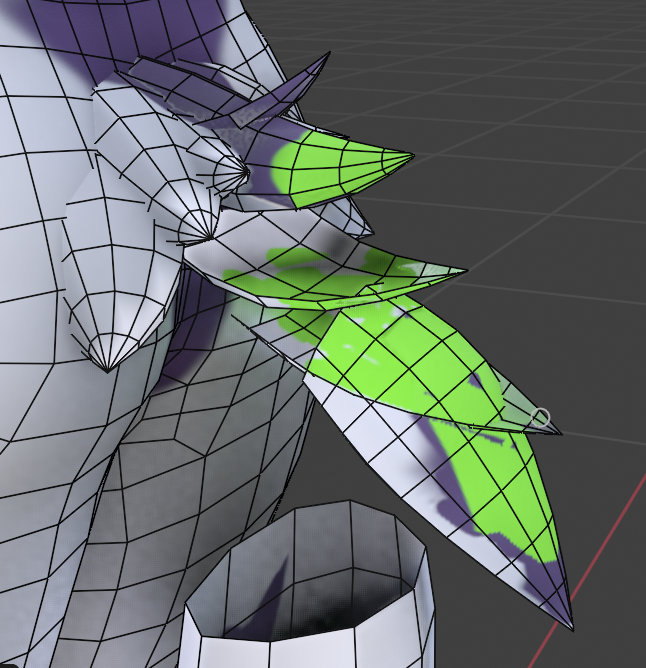
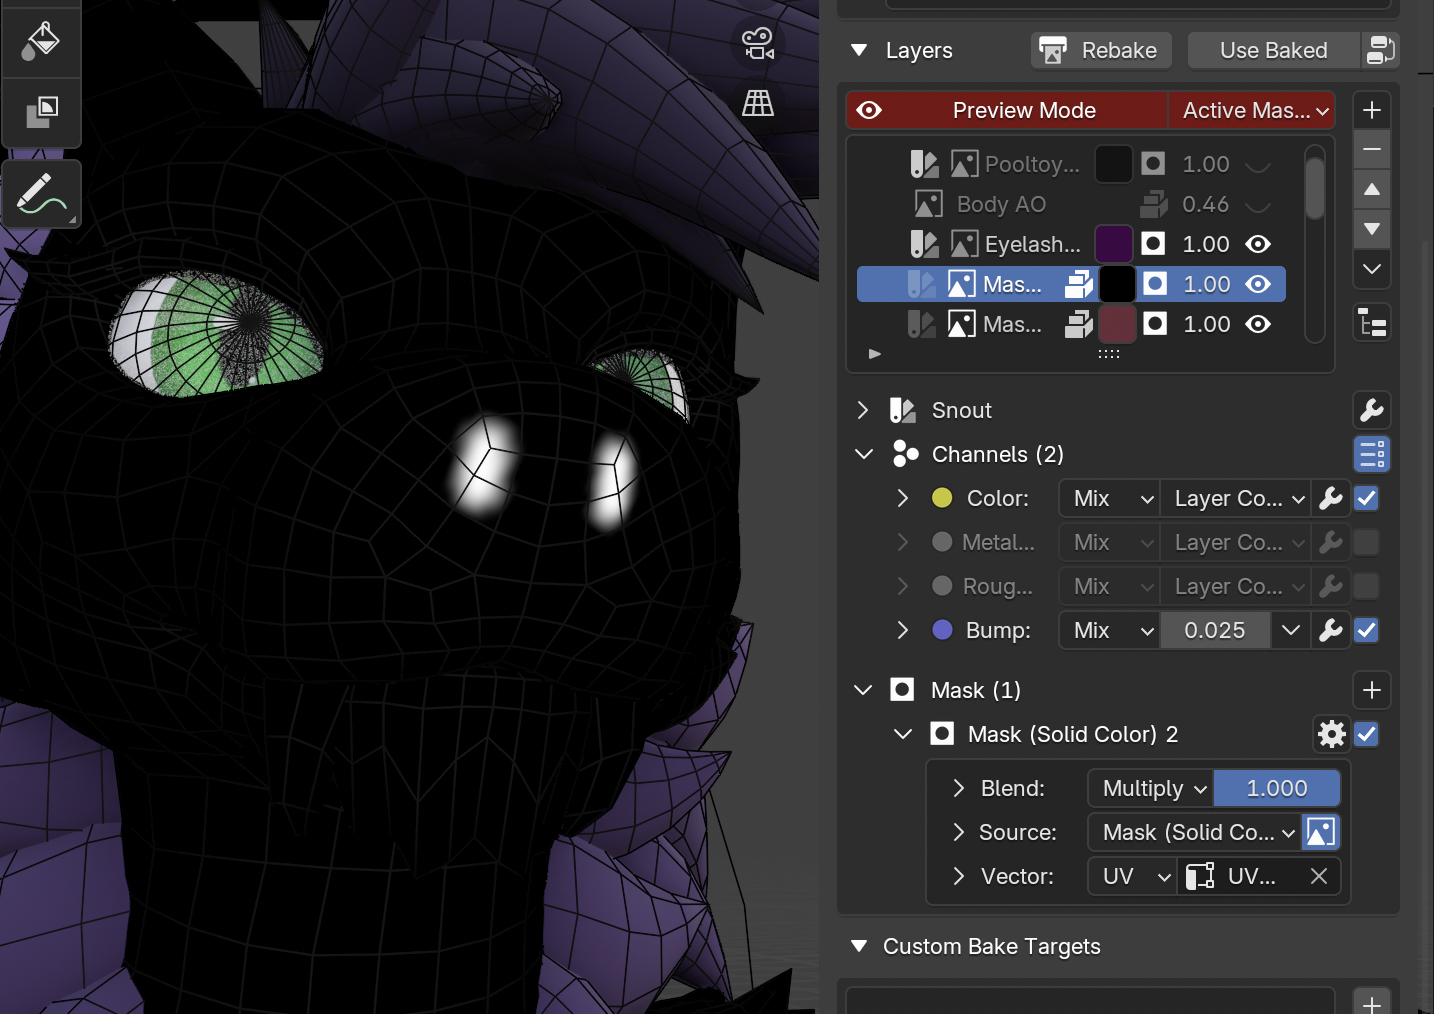
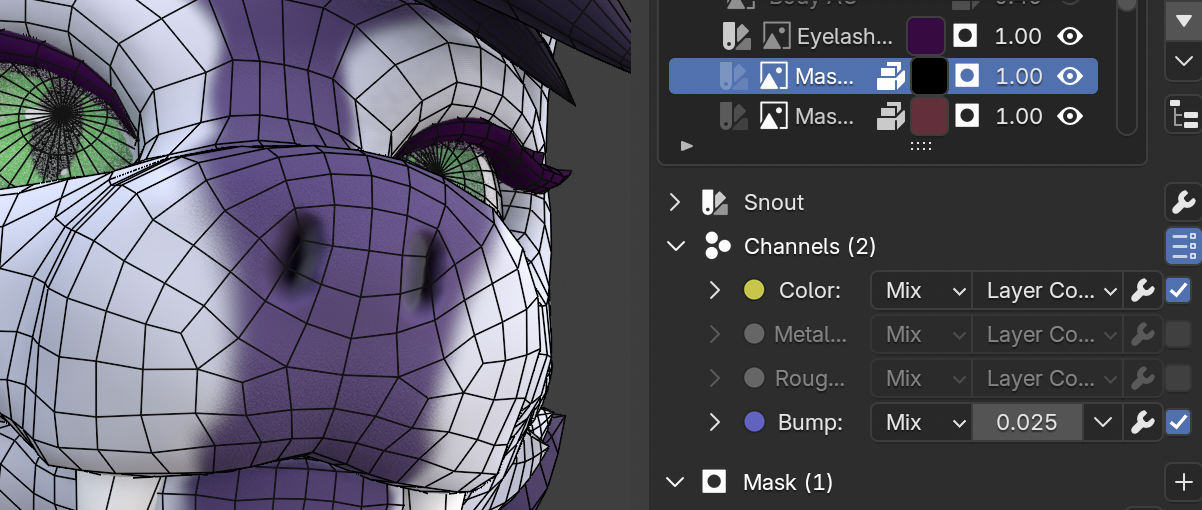
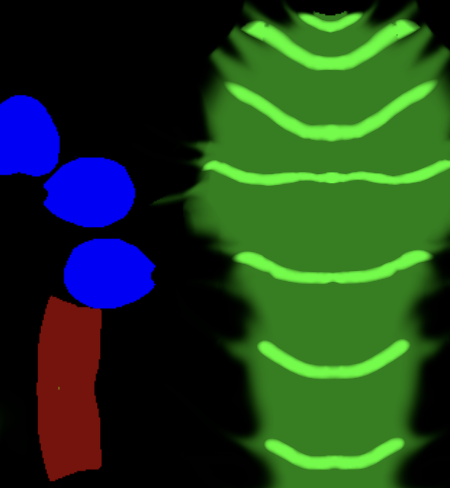
You can click the Preview Mode button to see just the elements the currently selected layer or mask is affecting. In this case, this is the mask for the snout - the black bits are transparent (will show things from the layers below), and the white bits in this case will be black and with a slight bump.
One thing to check when creating new layers is that they should all be the same size, probably 2048 or 4096 for VRChat use. [1] We did make the mistake of making some of them a bit smaller, and those are noticeably blurrier when exported.
Exporting
Ucupaint's expected workflow is that all the layers will be combined (or baked). This is fine for a lot of uses - indeed, Ucupaint's diffuse export is what we're using on this model - but unfortunately, we like to go ham on AudioLink/Furality's Luma shaders, and that means the individual masks need to be available.
While Ucupaint currently lacks a PSD export option, Blender has an option to export all textures from a project, which will give all masks as well. These can then be imported into Affinity Designer [2] and recoloured.
Blender can also treat the version of a texture on disk as canonical - which allows for doing a rough with Texture Paint to get a general idea of shapes, exporting all textures to disk, and then cleaning up with your choice of 2D image editor. In Blender, can then reload from disk (or use the Auto Reload plugin to do that automatically). That still gets some of the advantages of vectors without having to reverse engineer how the UV map works.
no adobe in this abode
As we said when we spoke about our 2D workflow, a lot of friends will use Substance Painter for making changes to their avatar textures. I am not going to say this has all the power, but it's nice to approximate it, to be able to add to normal maps and other details, things that we were missing from a primarily 2D workflow. We've retextured a few avatars since starting to use Ucupaint, and it's played a part in all of them because it beats trying to manually play with UV seams.
Blender is a big, complicated piece of software, and it lends itself well to learning just a bit every so often. I still don't think we're creating an avatar from scratch any time soon (our grasp on anatomy is... loose, to say the least), but learning Ucupaint was an incentive to learn a bit more about shading and posing - and how vertex groups work to make it easier to hide things. Learning more about shading has meant learning more about geometry nodes. Learning more about geometry nodes was a good reason to learn more about the camera and its properties when rendering things out, as well as a little bit about some of the workflows for animation.
Not all of those are useful when developing something for VRChat, of course - but all that knowledge builds up over time. Everything helps with building up techniques.
footnotes
While your textures coming out of Blender should be hi-res, please, please compress them in Unity before uploading to VRChat - use a tool like Thry's VRAM Checker to see which of your textures can be shrunk without making much visual impact. ↩︎
We're holding off on updating it to the recent Affinity as much as possible. ↩︎